This is a short blog on WordPress- How to install and activate plugins in WordPress website. After reading this blog you’ll be suitable to install all your plugins now and in the future. There are two ways in which you can install WordPress Plugins from within the Dashboard of your WordPress blog. One way is to search via the Dashboard and the other way is to download them to your computer and upload your plugin via the Dashboard. I’ll take you through both ways step by step. However, it’s a simple process so just follow on and carry out each step as needed, If this is the first time you’ll be installing plugins.
Installing Plugins via the Dashboard Automatically
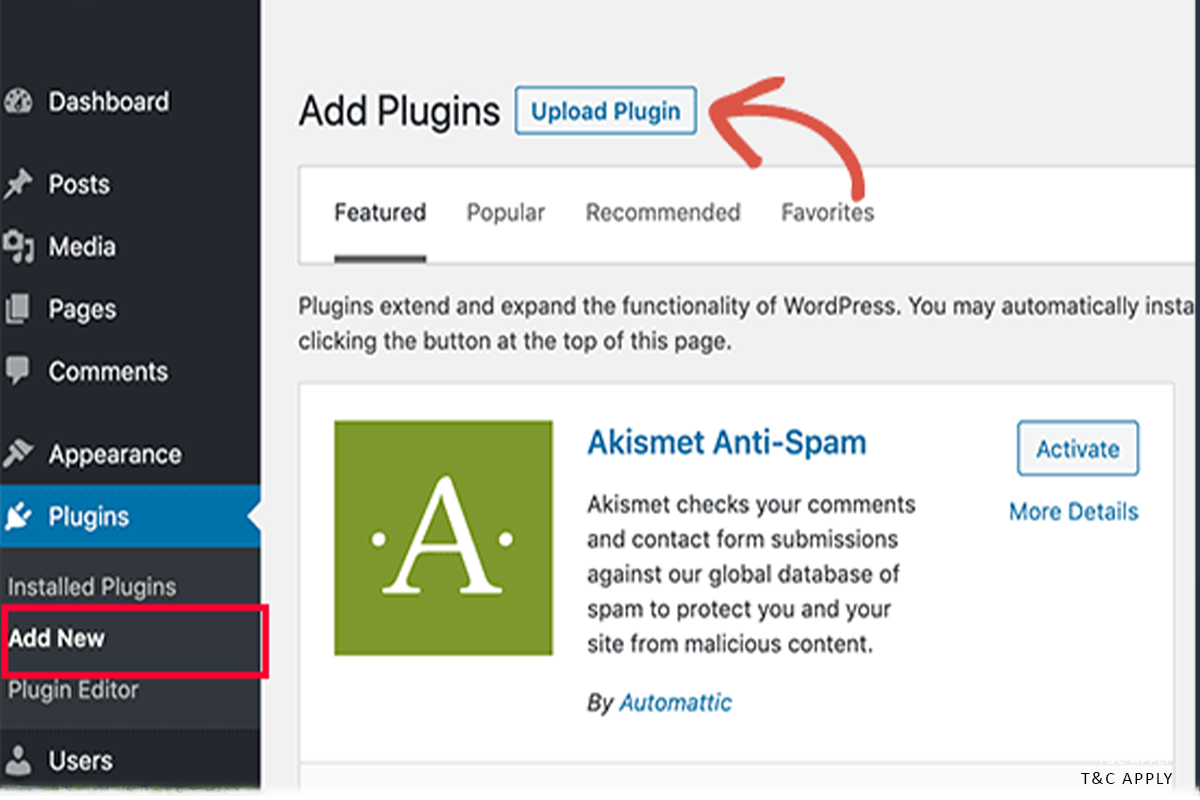
First, you’ll need to login into the’ Dashboard’ of your WordPress blog. If you now look over on the left-hand side you’ll see a list of menus. Hover over the’ Plugins’ Menu and click on the arrow that appears, a drop-down menu will now appear.
Now click on’ Add New’ and you’ll now arrive at the’ Install Plugins’ runner.
As you can see on the screen you’re suitable to type in a word or expression for what you’re searching for, now if you know the name of the plugin you’re searching for, enter the name of thatplugin.However, enter a relevant expression, If you’re searching to see if there’s a plugin to carry out a particular task. For this illustration I’m going to enter’ database backup’ as this is commodity I need to add to my blog. Now click on’ Search Plugins’.
As you’ll see, a list of different plugins will appear. Look through the list to see if there’s an applicable plugin for what you’re searching for. The plugin’ WP- DB-Provisory’ is in my list which is perfect for what I was looking for, so I’ll now click’ Install Now’ link. You’ll now see the plugin you chose being installed and it’ll tell you when it’s complete, you’ll also be presented with the option to spark the plugin- if you wish to do so, click on the’ spark Now’ link.
Each done! Any plugins which have been added to theWordPress.org website can now be installed onto your blog in this way without having to download them and install them manually.
Uploading Plugins From Your Computer to Your WordPress Blog
You may still, from time to time need to install a plugin manually, for illustration, it may be a recently released plugin that has not yet been added to the WordPress point or you may have bought a plugin. I’ll be showing you how to do this using a plugin called’ RSS Bomber’ as I’ve just bought it.
Once you have downloaded the plugin to your computer, you need to make sure that the plugin is inside a zip train. Now login to your WordPress Dashboard and click on the’ Plugins’ tab and also’ Add New’. Now click on the’ Upload’ link near the top of the runner. Now click the’ Choose train’ button and choose the zip train of your plugin to be uploaded, also click’ Choose’ followed by the’ Install Now’ button. WordPress will now upload and install your plugin. Once the installation of your plugin has finished it’ll give you the option to spark your plugin, just click the’ spark Plugin’ link to spark it. each done you’ll now see your recently installed plugin in your’ Manage Plugins’ runner.
You have now learned the two easiest ways to install plugins into WordPress you can, of course, upload your plugins via an FTP customer but this is a little more technical and why do effects the hard way when they can be done in the simplest ways possible!
‘ WordPress How To’ is a precious resource for anyone that wants to get started with WordPress. The tutorials are easy to follow in a step- by- step process.